
August 13, 2026
Choose the Right Background Removal Workflow Before You Open Photoshop
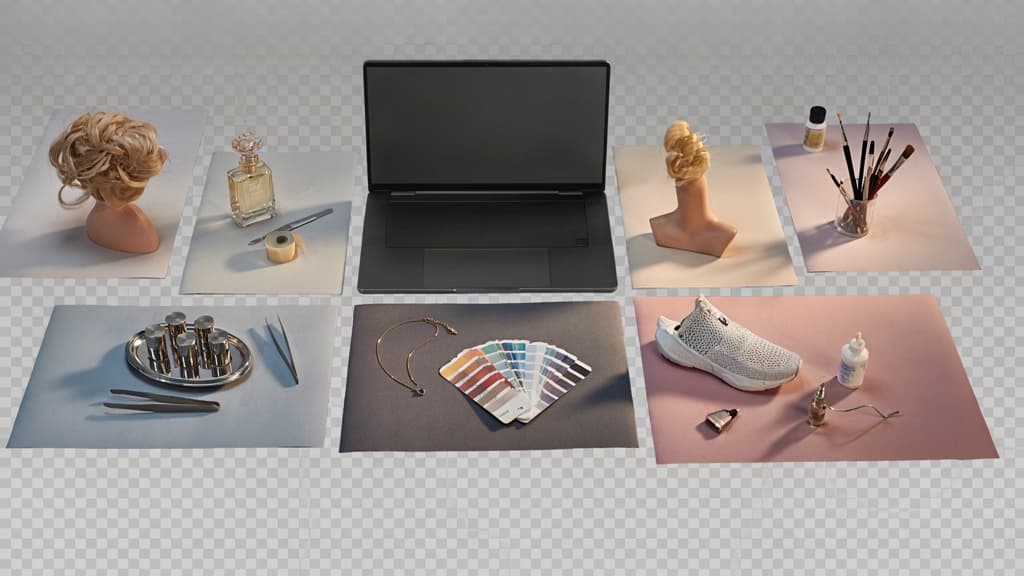
Before anyone starts cutting pixels, decide what kind of cutout the job actually needs. The fastest photoshop background removal workflow is rarely “use the same tool every time”; it’s choosing the lowest-effort method that still protects the client’s brand and the final asset quality.
Match the method to the image type
Start by sorting the image, not the tool.
A white-background product shot, a model with flyaway hair, and a glass bottle against a patterned surface should not enter the same production lane. If your team treats them equally, margins disappear fast.
Use a simple intake filter:
Image type | Workflow direction | Why it matters |
|---|---|---|
High-contrast subject on a plain background | Fast selection-based cutout | Good candidate for speed without heavy cleanup |
Product with crisp edges, packaging, or geometry | Precision cutout | Keeps edges sharp for ecommerce, ads, and landing pages |
Hair, fur, lace, sheer fabric, smoke, or glass | Edge-refinement workflow | Preserves detail that clients notice immediately |
Busy background with similar colors to the subject | More controlled manual workflow | Reduces missed edges and messy selections |
Large batch of similar images | Standardized production workflow | Keeps output consistent across the full set |
This is especially important for agencies managing multiple brands. A skincare client may need clean, premium ecommerce cutouts. A lifestyle apparel client may care more about natural-looking fabric and hair. Same task category, different tolerance for imperfection.
Define the final asset requirements
Background removal is not finished when the background disappears. It’s finished when the asset works in its intended context.
Before editing, confirm:
- Where the image will be used: website, marketplace, paid social, pitch deck, email, print, or display ads
- Required file type: PNG, PSD, TIFF, JPEG, WebP, or layered source file
- Background treatment: transparent, solid color, branded gradient, shadow, reflection, or lifestyle composite
- Crop and aspect ratio: square ecommerce image, vertical social ad, hero banner, carousel tile
- Edge expectations: crisp product edge, soft natural edge, retained hair detail, or masked shadow
- Brand rules: approved background colors, shadow style, spacing, scale, and image tone
This prevents rework. A transparent PNG for a product grid is a different deliverable from a layered PSD for a campaign composite. If the production brief only says “remove background,” your team is guessing.
For recurring clients, turn these requirements into a mini cutout spec. That spec becomes the difference between every designer interpreting the brand differently and every asset landing consistently, even when volume spikes.
Estimate edit time versus client value
Not every image deserves a 30-minute mask.
Before assigning the work, estimate the value of precision against the visibility of the asset. A homepage hero, product launch visual, or paid ad creative deserves more attention than an internal mockup or low-traffic blog thumbnail.
A practical agency rule:
- Under 2 minutes: simple internal assets, rough concepts, low-risk thumbnails
- 5–10 minutes: standard ecommerce images, social posts, marketplace listings
- 15–30+ minutes: hero images, campaign visuals, complex edges, premium product shots
This keeps production profitable. If a client sends 80 images at a fixed fee, your team needs a workflow that protects both quality and margin. Decide the editing depth before the file enters Photoshop, then route the work accordingly.
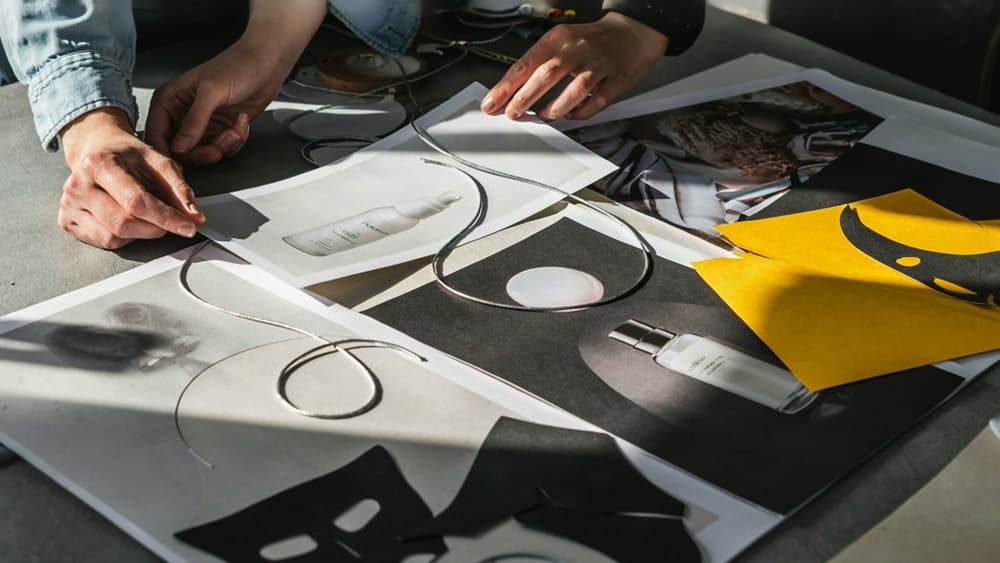
Fast Photoshop Background Removal for Simple, High-Contrast Images
Once you know the asset is low-risk—a clean subject, obvious edge contrast, and no fiddly hair, glass, or fabric—speed matters. These are the jobs where a junior designer should be able to produce usable cutouts fast without turning every social ad, pitch mockup, or ecommerce tile into a retouching task.
Use Remove Background for quick cutouts
For the simplest images, start with Photoshop’s Remove Background button.
In the Properties panel, choose Remove Background and Photoshop will create a layer mask automatically. This is the fastest route when the subject is clearly separated from the background: a product on white, a person against a plain wall, or a prop shot with strong contrast.
For agency production, the win is not perfection—it’s triage. Use it when you need to:
- Drop a product into a client’s campaign layout
- Create quick transparent PNGs for internal concepts
- Build draft creative for paid social variations
- Prep simple web graphics without tying up senior design time
The key is to keep the mask editable. Don’t delete the background permanently. A masked layer lets the team fix small edge misses, reuse the cutout, or adapt the asset later if the client asks for a different crop, color, or placement.
Use Select Subject and Object Selection for cleaner control
When Remove Background gets close but not quite close enough, use Select Subject or the Object Selection Tool before masking.
Select Subject works well when there is one obvious focal point in the image. Go to Select > Subject, let Photoshop build the selection, then apply a layer mask. This gives you a little more control than one-click removal because you can inspect and adjust the selection before committing it to the mask.
The Object Selection Tool is better when the image contains multiple elements and you only need one of them. Drag a rectangle or lasso around the specific product, person, or prop, and Photoshop will detect the object inside that area.
A practical agency example: a client sends a lifestyle shot with three skincare bottles on a bathroom counter, but the ad only needs the hero bottle. Remove Background may try to isolate the whole scene. Object Selection lets the designer target the right bottle and move faster without rebuilding the image manually.
Use these tools when the subject is simple but the composition is not.
Use Magic Wand for flat-color backgrounds
The Magic Wand Tool still earns its place when the background is a solid or nearly solid color. It is especially useful for supplier images, catalog shots, simple icons, and rough client-provided product photography.
Select the Magic Wand, click the background, and adjust Tolerance until Photoshop captures the background without eating into the subject. Lower tolerance selects a narrower color range; higher tolerance grabs more variation. Once the background is selected, invert the selection and apply a mask.
This method is fast for batch-style photoshop background removal where many assets share the same plain backdrop. It also gives designers predictable control: if the background is uniform, the Magic Wand can be quicker than asking AI to interpret the scene.
For small agencies, that predictability matters. The faster the team can clear simple cutouts, the more time stays available for the work clients actually notice: stronger layouts, sharper concepts, and on-brand campaign execution.
Use the Pen Tool for Precise Product and Hard-Edge Cutouts
Once the quick-selection routes start producing jagged corners, wobbly packaging edges, or softened silhouettes, switch to the Pen Tool. It is slower than one-click photoshop background removal, but it gives agencies the clean, controllable edges clients notice in product, ecommerce, and campaign assets.
When the Pen Tool is the best choice
Use the Pen Tool when the subject has a defined shape and the final asset needs to look polished at multiple sizes. It is especially useful for:
- Bottles, cans, boxes, jars, tubes, and other packaged goods
- Furniture, electronics, tools, and hard-surface products
- Logos printed on physical items where warped edges will look sloppy
- Hero images that may be placed on white, color, gradient, or composited backgrounds
- Retainer clients where the same product cutouts may be reused across ads, landing pages, sell sheets, and social posts
The Pen Tool is not about speed; it is about making the cutout dependable. For agency teams, that matters when one product image becomes ten deliverables and every edge needs to survive resizing, cropping, and background swaps.
Create a clean path around the subject
Start by zooming in enough to see the true edge without overcorrecting for pixel noise. Place anchor points along the subject’s outline, using fewer points on smooth curves and more points where the shape changes direction.
A practical workflow:
- Select the Pen Tool and set it to Path, not Shape.
- Click to create straight points along flat edges.
- Click and drag to create curves around rounded corners.
- Keep the path slightly inside the edge if the original photo has blur, fringe, or a visible background line.
- Use the Direct Selection Tool to adjust handles rather than adding too many points.
- Close the path by connecting back to the first anchor point.
Clean paths come from restraint. Too many anchor points create lumpy edges that look amateur once the asset is placed on a contrasting background. For bottles, boxes, and devices, aim for smooth, intentional curves that match the product geometry, not every tiny pixel variation in the source image.
Name the path clearly in the Paths panel, especially if multiple products or components are in the same file. “Main bottle cutout” is more useful than “Path 1” when another designer opens the file two weeks later.
Convert the path into a reusable mask
Once the path is clean, turn it into a selection and apply it as a layer mask. In the Paths panel, load the path as a selection, then select the product layer and click Add Layer Mask. This keeps the edit non-destructive, so the team can adjust the edge later without rebuilding the cutout.
For reusable client assets, save the working PSD with the path and mask intact. That gives your agency a flexible master file for future layouts: transparent PNGs for ecommerce, layered PSDs for ad creative, or alternate crops for paid social.
If the product will appear across multiple brand touchpoints, this extra structure prevents rework. Instead of cutting out the same item again for every request, your team can return to one approved mask and export consistent assets from it.
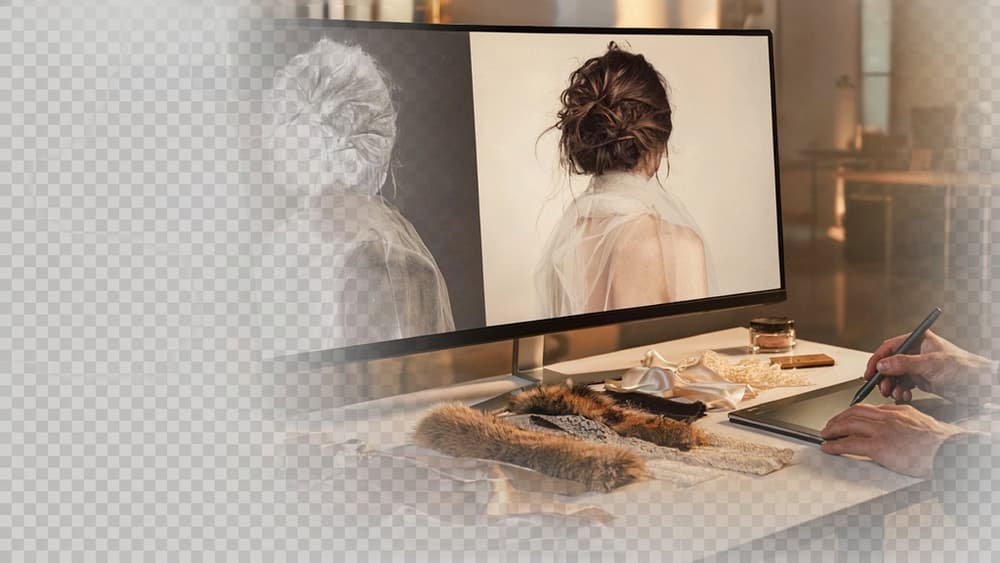
Refine Hair, Fur, Fabric, and Transparent Edges with Select and Mask
Once the main shape is isolated, the work shifts from “cut it out” to “make it believable.” This is where Photoshop background removal often succeeds or fails for fashion, lifestyle, pet, beauty, and talent-led campaign assets.
Use Select and Mask for complex edges
Select and Mask is built for edges that should not look perfectly drawn: hair, fleece, lace, tulle, feathers, fringe, motion-softened fabric, and semi-transparent materials.
Open the masked layer, then go to Select and Mask and focus on the edge—not the whole subject. For agency production work, this keeps edits faster and avoids over-processing clean areas that already look right.
Use these controls deliberately:
- Refine Edge Brush Tool: Paint over flyaway hair, fur, fuzzy fabric, or soft edge detail where the mask needs to detect fine transitions.
- Radius: Increase only enough to help Photoshop read the edge variation. Too much radius can make crisp areas look mushy.
- Smart Radius: Useful when the same subject has both sharp and soft edges, such as a model wearing a structured jacket with loose hair.
- Shift Edge: Pull the selection slightly inward if the old background is still visible around the subject.
- Feather: Use sparingly. A soft mask can help fabric, but too much feathering makes product and portrait edges look cheap.
A practical agency rule: zoom out regularly and check the asset at the size it will actually be used. A hair mask for a hero web banner needs more care than the same image used in a small paid social carousel.
Clean halos and color contamination
The most common giveaway is a bright or dark outline from the original background. Even a technically accurate mask can look off-brand if a model’s hair carries a blue studio cast into a warm beige campaign layout.
Start by viewing the cutout against likely client backgrounds: white, black, brand neutrals, and any campaign colors. This exposes problems that are easy to miss on Photoshop’s default transparency grid.
To clean the edge:
- Use Decontaminate Colors in Select and Mask when the old background color is bleeding into hair, fur, or fabric.
- Paint manually on the mask with a soft brush where halos appear in isolated areas.
- Use a clipped Hue/Saturation or Color Balance adjustment to neutralize color spill without changing the whole image.
- Check transparent or sheer areas separately; they often need a lighter touch than opaque edges.
For recurring clients, save notes on common fixes. If every apparel image from a client’s studio arrives with a grey fringe on white garments, your team should not rediscover that problem on every batch.
Output a non-destructive layer mask
For client work, avoid permanently deleting pixels. Output the Select and Mask result as a Layer Mask so the file stays editable when feedback arrives.
That matters when a creative director asks for “a little more hair detail on the left” or the media buyer needs the same cutout adapted from a white ecommerce tile to a dark social ad. With a non-destructive mask, your team can adjust the edge instead of rebuilding the asset.
Before handing the file to another designer or exporting final formats, name the layer clearly, keep the original image available, and group related adjustments. A clean file structure reduces rework when multiple agency team members are resizing, retouching, and versioning the same cutout across deliverables.
When Agencies Should Use AI Background Removal Instead of Manual Photoshop Work
Once your team knows which images deserve hand-finishing, the next margin lever is deciding what should never hit a designer’s desk in the first place.
Identify jobs that should be automated
AI background removal is strongest when the creative decision has already been made and the work is repetitive. For agencies, that usually means volume production rather than hero-image retouching.
Good automation candidates include:
- Ecommerce product catalogs where hundreds of SKUs need the same transparent, white, or branded background
- Paid social variants where the same subject appears across multiple sizes and placements
- Marketplace uploads with strict background rules
- Pitch decks, lookbooks, and sales collateral where speed matters more than pixel-level perfection
- Internal client asset libraries that need quick standardization before designers build from them
The key question is not “Can Photoshop do this better?” It often can. The better question is: “Is this cutout worth 12 minutes of a senior designer’s time?”
If the image will be small in-feed, used once, or part of a high-volume batch, automation usually wins. Save manual Photoshop background removal for assets where the edge quality, composition, or client visibility justifies the cost.
Protect brand consistency across batch outputs
The risk with AI is not just a bad cutout. It is inconsistent output across a client’s campaign: one product floating too high, another cropped too tight, a third placed on a background that does not match the brand system.
For agencies managing multiple clients, that inconsistency compounds fast. Each account may have different rules for shadows, padding, background color, aspect ratio, export format, and channel-specific crops. If those rules live in a Slack thread or one designer’s memory, AI only makes the mess faster.
A better workflow is to tie background removal to client-specific production standards:
- Approved background colors, gradients, or image treatments
- Required safe space around products or people
- Shadow style and intensity
- Cropping rules for ecommerce, social, web, and email
- Export formats, naming conventions, and folder structure
This is where Aethera fits into the agency workflow: ingest the client’s brand once, then keep recurring AI-assisted outputs aligned with that brand instead of rebuilding instructions for every batch. The goal is not simply faster cutouts; it is faster cutouts that still look like they came from the same client system.
Build a QA step before client delivery
Automation should reduce production time, not remove accountability. Before files go to the client, add a lightweight QA pass that catches the issues AI commonly misses.
Check for:
- Missing edges on hair, hands, handles, or product details
- Unwanted background fragments
- Crops that feel off-brand or inconsistent across the batch
- Incorrect canvas size, file type, or transparency
- Shadows or background treatments that do not match the client’s standards
For large batches, review a representative sample first, then spot-check the final export set. If the sample fails, adjust the instructions or brand rules before processing the rest.
This keeps AI in the right role: handling repetitive production at scale while your team protects the creative standard clients are actually paying for.